Organizations of all sizes are worried about securing their IT investments and a key part of this is providing users limited access only to the resources that they need to perform their work. This is known as the Principle of least privilege.
While a laudable goal, it's often been too time-consuming and complicated to implement effectively. As more data and systems come online every year a more effective, quicker to implement, and easier way to manage access is needed which is where Role-Based Access Control (RBAC) comes into the picture.
Get the Free Pen Testing Active Directory Environments EBook
- What is Role-Based Access Control (RBAC)?
- How is Role-Based Access Control Helpful?
- Best Practices for RBAC Implementations
- Azure Role-Based Access Control
What is Role-Based Access Control (RBAC)?
Role-Based Access Control (RBAC) is the modern role-based permissions management model that helps in managing access at both the broad as well as the granular level by aligning the assigned permissions role with the organizational role of the user. It helps in avoiding access leaks and, thereby, reducing the risk of data and information security breaches.
When we talk about the RBAC, a role is a collection of permissions based on different job functions across an organization. We mentioned earlier that RBAC is an approach, which means that it is designed to complement other existing security policies to strengthen the security landscape of the enterprise. In essence, RBAC provides a way to group different types of permissions across the enterprise and categorize them in order to effectively assign those permissions based on the job function of the user.
Groups and Roles - The Difference
One very important point is that there are differences between Groups and Roles. Groups are used to organize users that have the same level of permissions to perform a task. It may or may not be relevant to their job functions, whereas, roles are aligned to the job functions and are a group of access privileges to perform a specific job.
Attribute-Based Access Control (ABAC) an alternative to RBAC
Another approach to user security and permissions management is Attribute-Based Access Control (ABAC). ABAC seeks to match characteristics about the user (job function, job title) with the resources that the end-user needs to access to perform their duties.
So far, this system hasn't gained much popularity due to the challenges and setup required to implement this system on a wide scale.
How is Role-Based Access Control Helpful?
Periodic permission and access (entitlement) audits are a vital part of maintaining security within an organization. However, manual audits take an inordinate amount of time to accomplish and as a result, they aren't done as often as they should be. RBAC streamlines audits by enforcing access consistently across the enterprise.
Other benefits of Role-Based Access Control are:
Compliance
Role-Based Access Control helps organizations meet compliance regulations like the data protection and privacy mandates enforced by regional and local government bodies. Examples include:
- HIPAA compliance for healthcare organizations
- CCPA for large California organizations
- GDPR for organizations handling the private information of European Citizens
Operational Efficiency
Role-Based Access Control helps in improving and maximizing the operational efficiency of security actions. If access controls are assigned in a role-based approach they can be quickly and systemically changed across the enterprise.
Increased Visibility
Role-Based Access Control gives more visibility into who has access to what resources, thereby enforcing that the resources are accessed only by authorized users to perform their assigned tasks.
Reducing Operations Expenses
Role-Based Access Control also helps in regulating and reducing the operational expenses (OpEx) as it works on the principle of least privileges and reduces the administrative and IT support personnel's tasks of manually managing the access permissions. They can now spend their time on more productive business tasks.
Best Practices for RBAC Implementations

RBAC implementation requires that organizations spend time thinking through how their internal processes operate and designing roles that fit the user functions.
What follows are the steps necessary to start doing this within your organization:
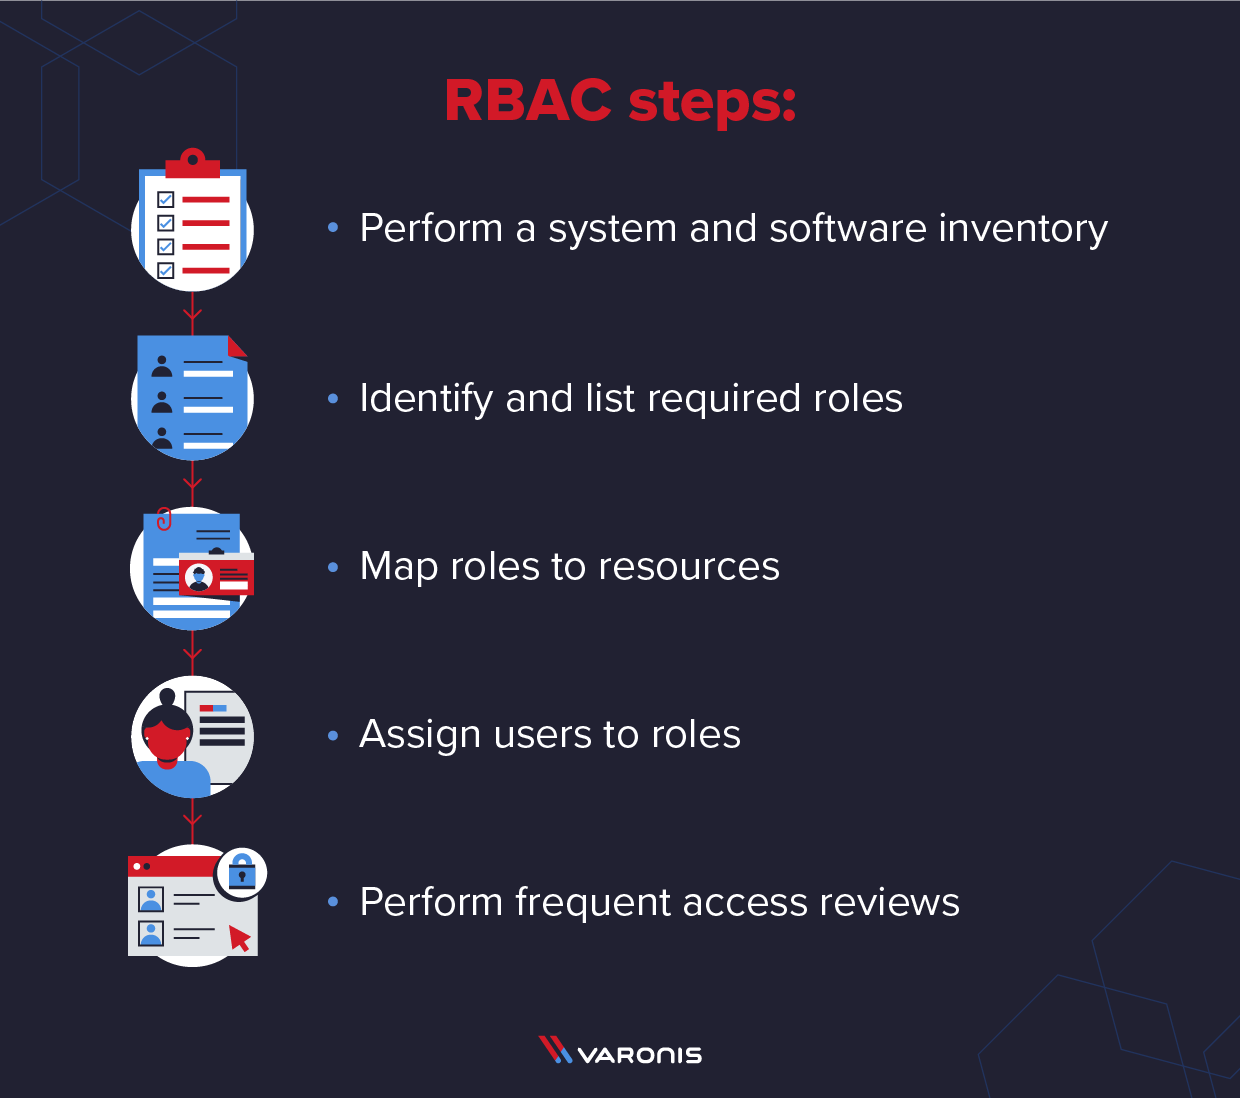
- Perform a system and software inventory - list all the resources within the enterprise that a user might need access to, including applications, software, hardware, and any other resource that is smartly managed (using smart cards, etc.)
- Identify and list required roles - Analyze the current user permissions and based on that, create roles. It may be helpful to ask your help desk to compile a report on access requests from which you can find patterns of use. Be mindful to create high-level roles as too many micro-level roles can completely defeat the purpose of going through the Role-Based Access Control process. There may be common groups as well, where all the resources are mapped and have similar access levels, such as - email groups, print users groups, internet groups, etc.
- Map roles to resources - Once the roles have been created, map the roles to the resources for proper access management and visibility for the resource.
- Assign users to roles - Map the group of users having similar access levels to the newly created roles. As these roles are already mapped to the resources, the users mapped to the roles will automatically get access to the resources.
- Perform frequent access reviews - Working with Role-Based Access Control is not a one-time affair. It still requires that audits are performed and corrections made to keep roles in line with changing user needs.
Azure Role-Based Access Control

Azure Role-Based Access Control is the practical implementation of the abstract functionality we've been discussing so far. It helps administrators manage access to Azure resources and defines what exactly they can do within that resource. Azure RBAC is best thought of as an authorization system built on Azure Resource Manager (ARM) that helps in fine-grained access management.
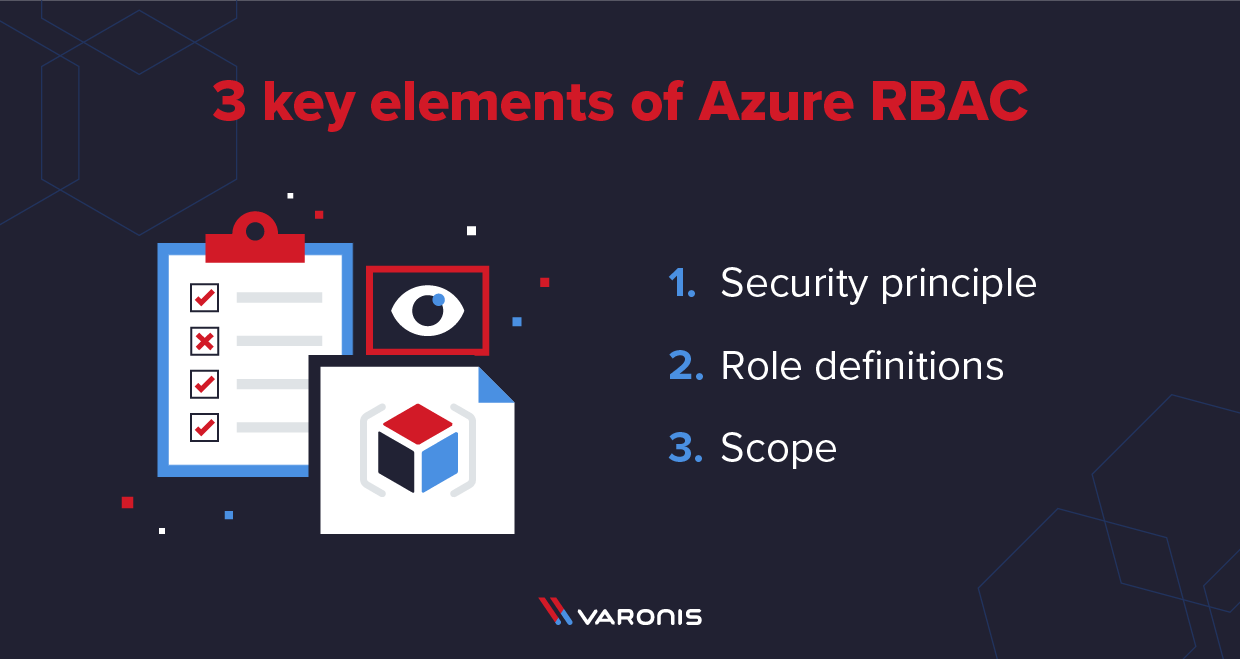
The role assignment in azure has three key elements:
- Security Principal - The security principal represents a user, a group, a service principal, or a managed identity that requests and is given access to a resource.
- Role Definitions - A role has a group of permissions for different Azure resources that are assigned to the security principal. It generally defines the actions that can be performed on the resources.
- Scope - Scope usually is the resource to which the roles define access to along with the level of permissions for one or more roles.
In Azure, the scope can be defined at 4 levels. They include Management Groups, Subscription, Resource Group, or directly at the Resource level. One point to remember is that the scope has a parent-child relationship and that the permissions from the parent are inherited by the child resources.
Azure includes several built-in roles that are pre-baked in Azure for our immediate use. They are based on the industry best practices and the way that Azure resources are structured. Azure also provides the compatibility to create custom RBAC roles based on our organizational requirements.
After the role has been defined and the scope has been mapped with the roles, role assignment is done to provide access to one or more security principles to the scope. If the access is to be removed for the security principal, the role assignment is revoked making it easier to manage permissions.
Working with Multiple role Assignment in Azure
There are cases where you would need to assign multiple roles to a user or a group. It is possible with Azure Role-Based Access Control as Azure RBAC is an additive approach, meaning that the permissions of the roles will overlap and the net effective permission is the sum of two different roles assigned to an identity.
Let's try to understand that with an example. A user 'A' has a 'Contributor' role assigned to him at the subscription level and the same user has a reader role on a Storage Account. The net resultant role of the user will be the 'Contributor' as it already encompasses the read access to the Storage Account.
Assigning User Roles using Azure Portal
To assign roles to other identities within Azure, you must have a role that has the write permissions on role assignment (Microsoft.Authorization/roleAssignments/write). For example - User Access Administrator or Owner.
Below are the steps to be followed for assigning roles to an identity from the Azure portal.
- Scope Identification
- Select Role
- Select the Access Control(IAM)
- Open role assignments page
- Select the appropriate role
- Select Identity and Assign Role
- Select the identity to be provided access
- Add conditions and assign roles
Scope Identification
Select the resource you wish to provide access to. For our lab purposes, we will provide role assignments at the subscription level
- Open Azure portal
- From the dashboard, click on the Azure subscription×

- Select your subscription on which you wish to assign role.

Select Role
- Select Access Control (IAM) from the left-hand menu×

- ×On the Access Control page, click on the 'Role Assignments'

- You can use this page to view the role assignments at the subscription level as we are working on the role assignment on the subscription
Select the appropriate role
- Click on the 'Add' button and then select the 'Add role assignment' option×

- ×On the 'Add role assignment' page, select the role that you wish to give permission on. For the purpose of the lab, you can select the contributor role.
You can also use the search box to search for the role by its name. Each role also shows its description to clarify the purpose it is designed for.
Select Identity and Assign Role
- After the role has been selected, select the 'Members' tab to add members to the role.×

- ×On this screen, you can use a single user, a group, a service principal, or a managed identity as well. For the purpose of the demo, I will be choosing the 'user, group, or service principal' option and click on the 'Select Members' link.

- On the popup that appears, will display the names of all the users from which you can select one or more users. After you have selected the users, click on the 'Select' button.×

- The selected users will be shown on the 'Add role assignment' page. You can then click on the 'Review + assign'' button at the bottom of the page or the 'Review + assign' tab at the top of the page.×

- ×On the 'Review + assign' page, click on the 'Review + assign' button again.

- It will take a couple of minutes and the selected users will have the 'Contributor' role assigned at the subscription level.×

The same process can be repeated to assign any role at the resource level as well.
Summary
Role-Based Access Control is a practical approach to handling the complexities of user permission management.
This helps in not just minimizing the risks of information breaches and data leaks, but also helps in reducing the overall operational expenses of the organization as it reduces the manual effort of the administrative and IT service desk professionals.
Remember that Role-Based Access Control is not a one-stop security solution that can be used exclusively replacing all other security implementations to handle cybersecurity, rather it has to be used alongside other security implementations across the organization.
What should I do now?
Below are three ways you can continue your journey to reduce data risk at your company:
Schedule a demo with us to see Varonis in action. We'll personalize the session to your org's data security needs and answer any questions.
See a sample of our Data Risk Assessment and learn the risks that could be lingering in your environment. Varonis' DRA is completely free and offers a clear path to automated remediation.
Follow us on LinkedIn, YouTube, and X (Twitter) for bite-sized insights on all things data security, including DSPM, threat detection, AI security, and more.


