This post contains updates and recovery steps for the Windows blue screen of death (BSOD) issue currently affecting devices and VMs running CrowdStrike Falcon Sensor.
This blog post is intended to help the IT community quickly recover affected machines. We will update the post as new details emerge.
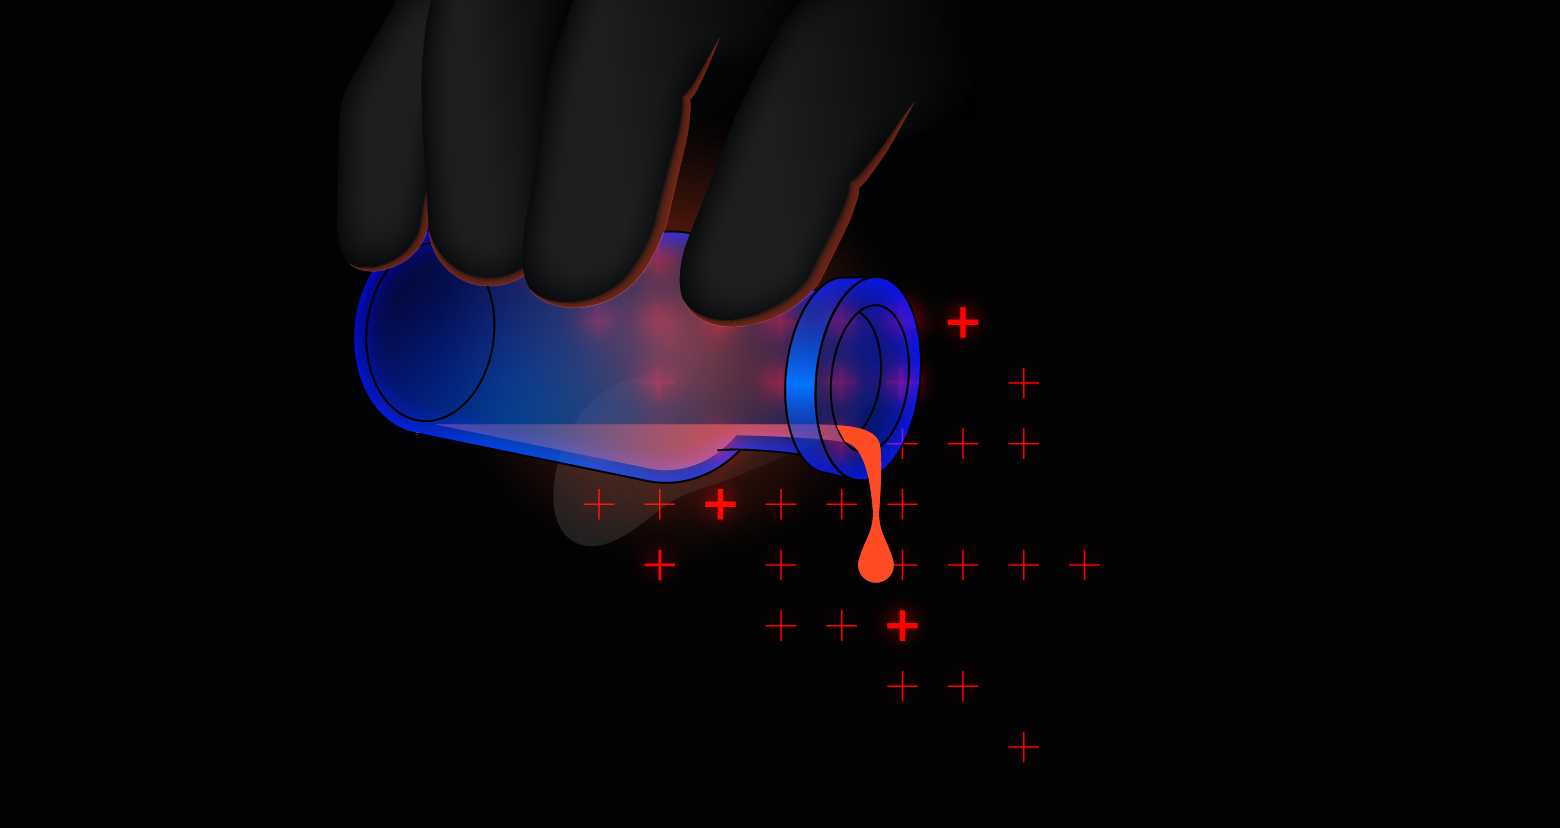
Varonis' cloud infrastructure is fully operational. Customers who are running Varonis Collectors on machines alongside CrowdStrike should follow the recovery steps and contact our support team with any questions.
Background
On Thursday, July 18, 2024, CrowdStrike reported widespread BSODs on Windows hosts due to a defective Falcon Sensor update. You can find CrowdStrike’s official statement and recover steps here.
The defective update began propagating at 04:09 UTC. We can confirm the affected update has been pulled by CrowdStrike and any Windows hosts booted up after 5:27 AM UTC should not be affected.
Machines with an available backup from before 04:09UTC can be recovered by restoring to that backup.
Recovery involves putting the affected machine into Windows Recovery Mode and then deleting the affected file, “C:\Windows\System32\drivers\CrowdStrike\C-00000291.sys”. Additionally, some machines may recover through a series of (up to 15) reboots.
Customers that are continuing to experience issues should reach out to CrowdStrike for additional assistance.
Recovery Steps
There are two main options to recover a Windows host that has blue screened: 1.) restore from a snapshot prior to 04:09 UTC or 2.) recover the machine using the following steps:
- Boot Windows into Safe Mode or the Windows Recovery Environment
- Navigate to the C:\Windows\System32\drivers\CrowdStrike directory
- Locate the file matching “C-00000291*.sys”, and delete it.
- Boot the host normally.
The steps can be different if the Windows host is a physical or virtual device, and steps for cloud-hosted virtual machines vary depending on the cloud provider.
If the machine is running BitLocker or other disk encryption software, additional steps may be required to boot into a Windows Recovery Environment.
BitLocker recovery-related KBs:
- BitLocker recovery in Microsoft Azure
- BitLocker recovery in Microsoft environments using SCCM
- BitLocker recovery in Microsoft environments using Active Directory and GPOs
- BitLocker recovery in Microsoft environments using Ivanti Endpoint Manager
Recovery Steps for Cloud Services
Microsoft Azure
Official guidance can be found here: https://azure.status.microsoft/en-us/status
Microsoft’s Azure status page is reporting that some customers can recover affected devices through a series of as many as 15 reboots. Customers can attempt to do so as follows:
- Using the Azure Portal - attempting 'Restart' on affected VMs
- Using the Azure CLI or Azure Shell (https://shell.azure.com)
https://learn.microsoft.com/en-us/cli/azure/vm?view=azure-cli-latest#az-vm-restart
Additional options for recovery:
Mirroring the general guidance above, if possible, Microsoft recommends that customers restore from a backup prior to 04:09 UTC on the 18th of July, when the faulty update started rolling out.
Customers leveraging Azure Backup can follow the following instructions:
Alternatively, customers can attempt repairs on the OS disk by following these instructions:
Once the disk is attached, customers can attempt to delete the following file:
Windows/System32/Drivers/CrowdStrike/C00000291*.sys
The disk can then be attached and re-attached to the original VM.
AWS
Official guidance can be found here: https://health.aws.amazon.com/health/status
For EC2 instances, there are currently three paths to recovery.
First, in some cases, a reboot of the instance may allow for the CrowdStrike Falcon agent to be updated to a previously healthy version, resolving the issue. However, this is not successful in all cases, in which case an alternative recovery strategy will be needed.
Second, the following steps can be followed to delete the CrowdStrike Falcon agent file on the affected instance: (Latest revision: July 19, 7:01 AM PDT)
- Create a snapshot of the EBS root volume of the affected instance
- Create a new EBS volume from the snapshot in the same Availability Zone
- Launch a new instance in that Availability Zone using a different version of Windows
- Attach the EBS volume from step (2) to the new instance as a data volume
- Navigate to the \windows\system32\drivers\CrowdStrike\ folder on the attached volume and delete "C-00000291*.sys"
- Detach the EBS volume from the new instance
- Create a snapshot of the detached EBS volume
- Create an AMI from the snapshot by selecting the same volume type as the affected instance
- Call replace root volume on the original EC2 Instance specifying the AMI just created
Finally, customers can relaunch the EC2 instance from a snapshot or image taken before 9:30 PM PDT. We have been able to confirm that the update that caused the CrowdStrike Falcon agent issue is no longer being automatically updated, so the relaunched instance will no longer be affected by the issue.
For Amazon Workspaces, we recommend a reboot of the affected Workspaces. As with EC2, this may recover the instance, but it does not work in all cases. Alternatively, we would recommend restoring to a recent backup of the workspace.
If you need assistance with any of these actions, please contact AWS Support via the AWS Support Center.
GCP
Official guidance can be found here: https://status.cloud.google.com/
Windows VMs that continue to experience this issue need to be manually patched. Please follow the instructions on the CloudStrike support portal.
- Follow offline repair (Step 1 to 3)
- Use rescue VM (Test VM), attach boot disk of the affected VM as a secondary disk **NOTE: Ensure that the boot disk image of the recovery VM differs from the boot disk that is being repaired; failure to do so may result in duplicate disk or partition GUID and unpredictable results as confirmed by Microsoft.
- Navigate to the D:\Windows\System32\drivers\CrowdStrike directory
- Locate the file matching “C-00000291*.sys”, and delete it.
- Power down the Rescue VM detach the secondary disk
- Re-attach the VM to the original VM and boot
We will update the post as new details emerge.


-1.png)